
The Ultimate Guide to CapCut’s “Auto-Caption” Feature: How I Create Pro-Level Reels in Under 5 Minutes 🚀
In today’s fast-paced digital world, captivating video content is king. Whether you’re a seasoned content creator, a small business owner, or just someone looking to share their story, platforms like Instagram Reels and TikTok demand engaging, accessible videos. And at the heart of accessibility and engagement? Captions! But let’s be honest, manually typing out captions for every video is a massive time sink. That’s where the magic of CapCut’s auto-caption feature comes in. This isn’t just a convenience; it’s a game-changer that allows me to transform raw footage into polished, professional-level reels in under five minutes. Yes, you read that right – five minutes! 🤯
This comprehensive guide will dive deep into everything you need to know about mastering the CapCut auto-caption feature. We’ll explore its incredible benefits, walk through a step-by-step tutorial, troubleshoot common issues, and even unveil advanced tips to truly elevate your video content. Get ready to supercharge your video editing workflow and create content that truly stands out!
Why CapCut Auto-Caption is a Non-Negotiable Tool for Content Creators
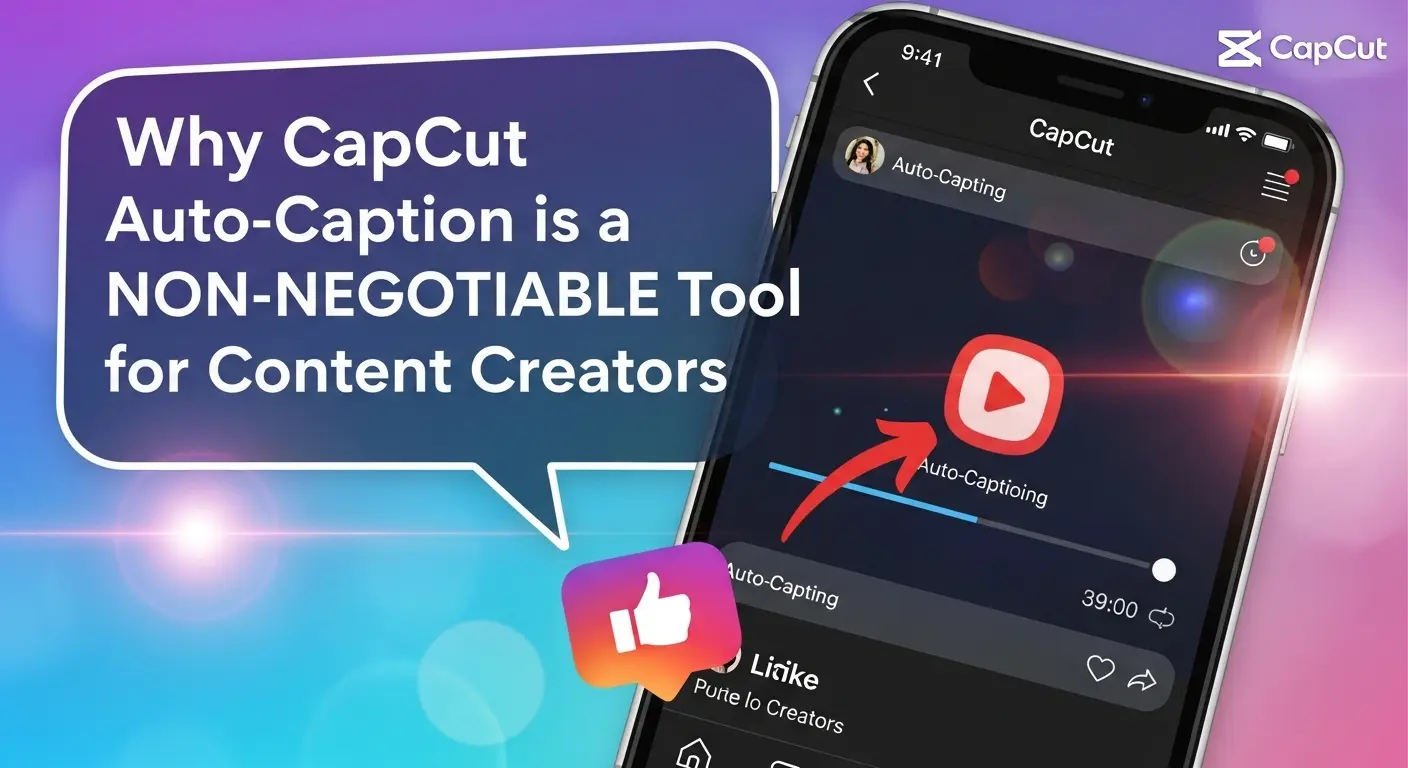
Before we jump into the ‘how-to,’ let’s understand the ‘why.’ The ability to automatically generate captions in CapCut is more than just a cool trick; it’s a strategic advantage:
- Enhanced Accessibility: A staggering number of people watch videos with the sound off, especially on social media feeds. Captions ensure your message reaches them, making your content accessible to a wider audience, including those with hearing impairments. This boosts engagement and retention.
- Increased Watch Time: Engaging captions keep viewers hooked, even in noisy environments or when they’re simply scrolling. They can follow along, understand the context, and are more likely to watch your video to completion.
- Improved SEO & Discoverability: While direct SEO benefits for video captions on social platforms are evolving, the text within your captions can often be indexed, potentially improving discoverability. Furthermore, the increased engagement signals tell algorithms your content is valuable.
- Time-Saving Efficiency: This is arguably the biggest win. What used to take hours of manual transcription and timing now takes mere seconds. This frees up your valuable time to focus on creative aspects like storytelling, filming, or distribution.
- Professional Polish: Clean, accurate captions add a layer of professionalism to your videos. It shows attention to detail and a commitment to providing a high-quality viewer experience.
- Multi-Platform Readiness: Once you have your perfectly captioned video, it’s ready for any platform – Instagram Reels, TikTok, YouTube Shorts, Facebook, LinkedIn, you name it!
Understanding these benefits underscores why every content creator, marketer, or casual user should be leveraging this powerful tool. It’s not just about adding text; it’s about expanding your reach and impact. 💡
Getting Started: Your First Steps with CapCut’s Auto-Caption Feature
CapCut has made the process incredibly intuitive. If you’re new to the app, don’t worry – you’ll pick this up in no time. Here’s a basic overview to prepare you:
1. Download and Install CapCut
First things first, ensure you have the CapCut app installed on your mobile device (iOS or Android) or desktop. It’s free and readily available on app stores. Make sure you’re running the latest version to access all features and improvements.
2. Import Your Video
Open CapCut and tap ‘New Project.’ Select the video clip(s) you want to add captions to from your gallery. Once imported, your video will appear on the timeline.
Step-by-Step Guide: How to Add Automatic Captions in CapCut
Now, let’s get down to business. Follow these simple steps to generate captions automatically for your video:
- Navigate to the ‘Text’ Menu: Once your video is on the timeline, look at the bottom menu bar. Tap on the ‘Text’ option.
- Select ‘Auto Captions’: Within the ‘Text’ menu, you’ll see several options. Tap on ‘Auto Captions’ (sometimes labeled ‘Auto lyrics’ or ‘Auto subtitles’ depending on the version).
- Choose Your Source Language: CapCut will prompt you to select the language spoken in your video. This is crucial for accurate transcription. Choose from the extensive list of supported languages.
- Initiate Generation: After selecting the language, tap ‘Start’ or ‘Generate.’ CapCut will now process your video, analyzing the audio to transcribe it into text. This usually takes only a few seconds, depending on the length of your video and your device’s processing power.
- Review and Edit Captions: Once generated, the captions will appear on your video timeline, broken into individual text clips. This is the most critical step for accuracy.
- Tap on a Caption Segment: Select any caption segment on the timeline or directly on the video preview.
- Tap ‘Batch Edit’: This allows you to see all your captions in a list format, making it easy to scroll through and identify errors.
- Correct Any Errors: CapCut’s AI is good, but it’s not perfect. Pay close attention to:
- Misspelled words
- Incorrect punctuation
- Missing words or phrases
- Words that sound similar but have different meanings (e.g., ‘their’ vs. ‘there’)
- Adjust Timing (If Needed): While CapCut does a decent job with timing, sometimes a caption might appear too early or too late. You can adjust the duration of each caption segment by dragging its ends on the timeline. For more precise timing, you can also tap ‘Edit’ on an individual caption and then fine-tune its start and end points.
- Customize Caption Style (Optional but Recommended): This is where you make your captions pop!
- Select a Caption Segment: Tap on any caption segment.
- Tap ‘Style’: Here, you’ll find a wealth of options:
- Font: Choose a readable and aesthetically pleasing font.
- Text Size: Ensure it’s large enough to be easily read on mobile screens.
- Color: Select a color that contrasts well with your video background.
- Stroke: Add an outline for better readability.
- Shadow: Enhance depth and separation.
- Background: Add a solid or semi-transparent background box.
- Effects: Explore preset text styles and animations.
- Apply to All: Once you’re happy with a style, CapCut offers the option to ‘Apply to all’ or ‘Apply to current’ captions. Applying to all saves immense time and ensures consistency.
- Export Your Video: Once your captions are perfect and styled, tap the export icon (usually an arrow pointing up or a share icon) in the top right corner. Choose your desired resolution and frame rate, then tap ‘Export.’ Your video with embedded captions is now ready to share! 🎉
Advanced Tips & Tricks for Mastering CapCut Auto-Caption
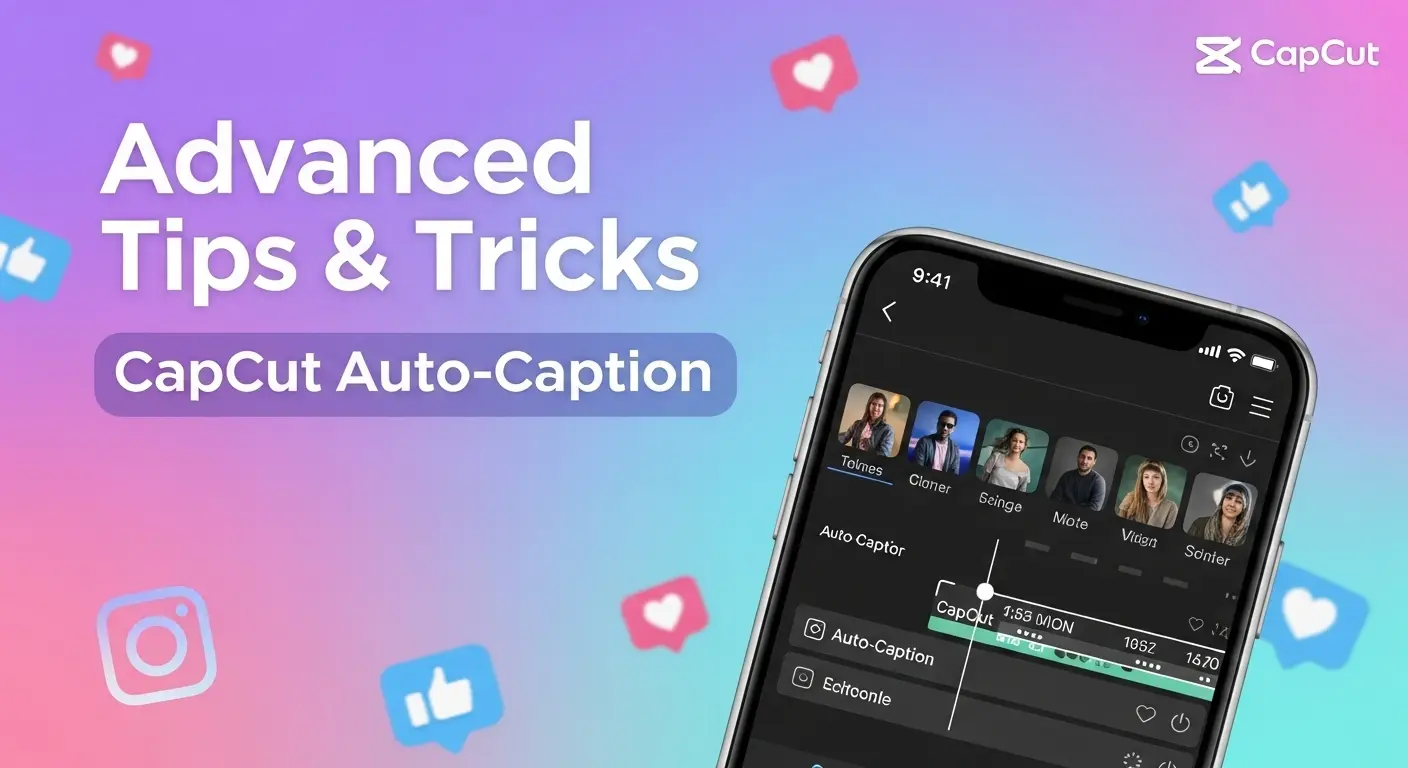
While the basic steps are easy, these advanced strategies will help you truly create pro-level reels and optimize your CapCut auto-caption workflow:
1. Optimize Your Audio for Better Accuracy
The quality of your auto-captions is directly proportional to the clarity of your audio. Before you even generate captions:
- Record in a Quiet Environment: Minimize background noise.
- Speak Clearly and Concisely: Articulate your words.
- Use a Good Microphone: Even your phone’s built-in mic can be improved by speaking closer to it.
- Remove Background Noise in CapCut: CapCut has a ‘Reduce noise’ feature under the ‘Audio’ > ‘Enhance voice’ settings. Use it before generating captions.
2. Leverage Batch Editing for Efficiency
As mentioned, ‘Batch Edit’ is your best friend. Instead of correcting each caption individually on the timeline, use this feature to quickly scroll through and fix all errors in one go. It’s significantly faster for long videos.
3. Split Long Captions for Readability
Sometimes CapCut will generate a very long caption segment. This can be hard for viewers to read quickly. To fix this:
- Select the long caption segment.
- Tap ‘Split’ (scissors icon).
- Adjust the timing of the new segments.
- Manually edit the text in each segment to break up sentences or ideas.
4. Animate Your Captions for Dynamic Appeal
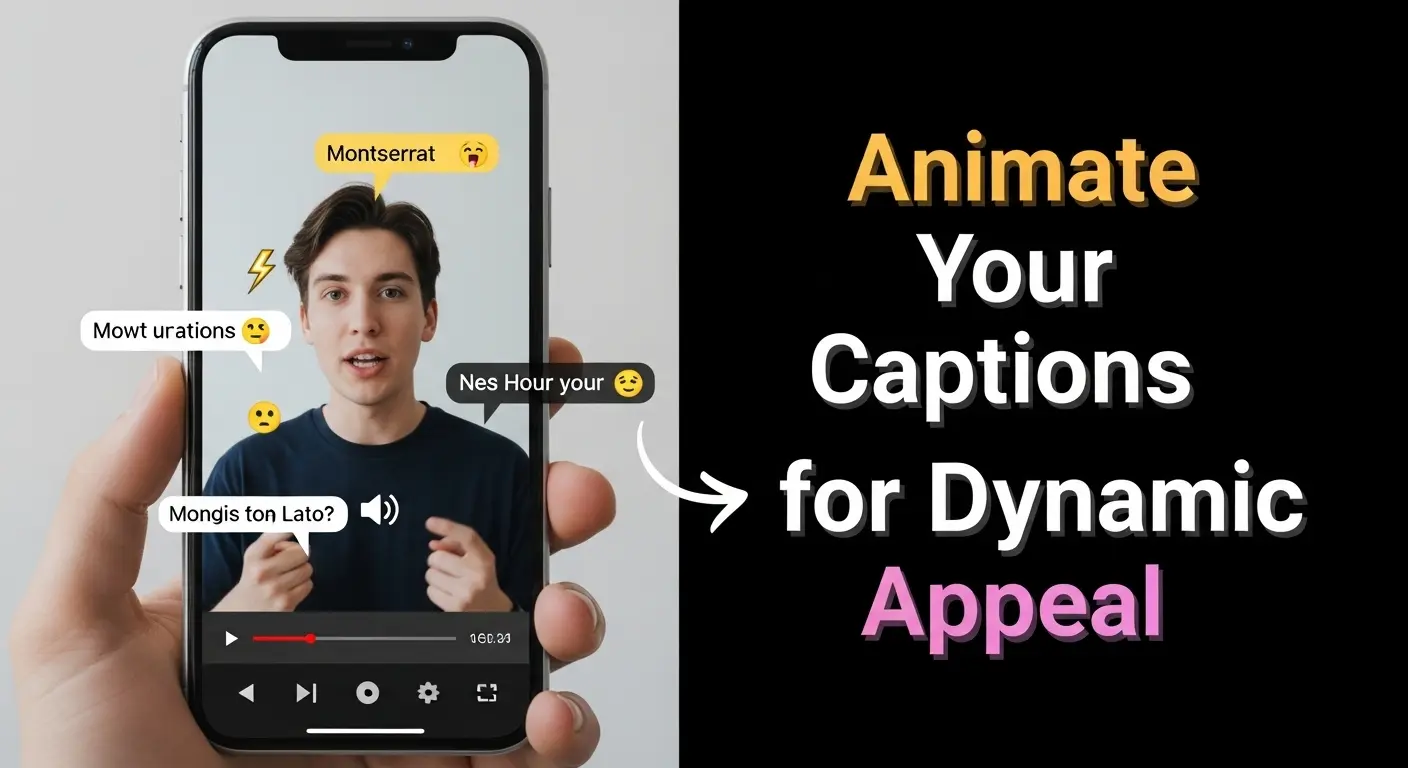
CapCut offers various text animations. While ‘Auto Captions’ themselves don’t animate by default, you can add ‘In,’ ‘Out,’ and ‘Loop’ animations to individual caption segments to make them more dynamic and engaging. This is especially effective for short, punchy captions.
5. Create Custom Caption Presets
If you have a specific brand aesthetic or preferred caption style, save it! While CapCut doesn’t have a direct ‘save style’ button for auto-captions, you can create a template project with your preferred font, size, color, and background. Then, for new projects, copy the styled caption from your template, paste it, and then apply its style to all new auto-generated captions. This maintains consistency across your content.
6. Utilize Voiceover for Enhanced Content
Sometimes, your original video might not have spoken audio, or you want to add commentary. You can record a voiceover directly in CapCut (‘Audio’ > ‘Record’). Once recorded, you can then apply the auto-caption feature to your voiceover track, ensuring even narrated content is accessible.
Troubleshooting Common CapCut Auto-Caption Issues
Even with advanced AI, you might encounter a few hiccups. Here are common issues and how to resolve them:
1. Inaccurate Transcriptions
- Cause: Poor audio quality, background noise, unclear speech, or strong accents.
- Solution: Improve audio recording conditions. Use CapCut’s noise reduction. Manually correct errors using ‘Batch Edit.’ Consider re-recording problematic sections.
2. Captions Not Appearing
- Cause: App glitch, very short audio segments, or no detected speech.
- Solution: Restart the app. Ensure there’s clear spoken audio in the selected segment. Try generating captions for a shorter clip first. Check if you’ve accidentally hidden the text layer.
3. Incorrect Timing of Captions
- Cause: Rapid speech, pauses, or sudden cuts in the video.
- Solution: Use the timeline to manually adjust the start and end points of individual caption segments. Split long segments into shorter, more manageable ones.
4. ‘Auto Captions’ Option Greyed Out or Missing
- Cause: Outdated app version, regional restrictions, or a temporary bug.
- Solution: Update CapCut to the latest version. Check your internet connection. Try restarting your device. If the issue persists, reinstall the app (back up any drafts first!).
5. Language Not Supported
- Cause: CapCut’s auto-caption feature supports many languages, but not all.
- Solution: If your language isn’t supported, you’ll unfortunately have to resort to manual captioning or use a third-party transcription service to get an SRT file that you can then import (though CapCut’s direct SRT import for auto-captions is limited).
Beyond Auto-Captions: Integrating for a Full Workflow
While the CapCut auto-caption feature is a cornerstone of efficient video editing, it’s part of a larger ecosystem. To truly create pro-level reels in under 5 minutes, you need to think about your entire workflow:
- Pre-Production (1-2 minutes):
- Plan Your Content: Even for a 5-minute reel, have a rough idea of your message.
- Shoot Smart: Film in short, digestible clips. Keep your message clear.
- Editing in CapCut (2-3 minutes):
- Trim & Cut: Remove dead air and unnecessary footage. Get straight to the point.
- Add Music/Sound Effects: CapCut’s extensive library is a goldmine. Choose trending sounds.
- Generate & Refine Captions: This is where the auto-caption feature shines.
- Add Visuals: Overlays, stickers, text animations, and transitions. Don’t overdo it!
- Color Grade: A quick preset can dramatically improve visual appeal.
- Export & Share (1 minute):
- Review: Watch your reel one last time.
- Export: High quality is key.
- Share: Post to your chosen platforms with relevant hashtags.
By streamlining each step, especially by leveraging the power of CapCut’s automatic captions, you genuinely can achieve professional results in record time. It’s about working smarter, not harder. 🚀
The Future of Video Accessibility and Content Creation
The evolution of tools like CapCut’s auto-caption feature signals a clear trend: content creation is becoming more accessible, and so is content consumption. As AI technology advances, we can expect even more accurate transcriptions, more nuanced language support, and perhaps even real-time captioning during live broadcasts. Embracing these technologies isn’t just about convenience; it’s about staying relevant, expanding your audience, and ensuring your message resonates with everyone, everywhere.
So, if you haven’t fully integrated CapCut’s auto-caption feature into your workflow, now is the time. It’s a simple change that yields profound results, transforming your video creation process from a tedious chore into a swift, enjoyable, and highly effective endeavor. Get ready to create more, engage more, and truly dominate your niche with captivating, accessible content!
Ready to Transform Your Reels?
You’ve learned the ins and outs of CapCut’s powerful auto-caption feature. Now it’s your turn to put this knowledge into action! What’s the one video project you’re most excited to try this feature on? Share your thoughts and any pro tips you discover in the comments below! Let’s build a community of efficient, engaging content creators together. 👇

